Creating a Pattern From a Favorite Garment
My daughter had a dress in high school she loved to wear. When she went away to college I planned to copy the dress for her. I unpicked the sleeve from the dress and planned to unpick the entire dress to make a copy. She saw it in my sewing room missing a sleeve and asked what happened to her dress!?! I told her I was planning to deconstruct the dress, copy a pattern and make her a new dress. She exclaimed “I LOVE THAT DRESS! Don’t take it apart!”
Frustrated, I tossed the dress and the sleeve on my Work In Progress pile. I planned to reattach the sleeve and give it back to her. Can you guess what happened? Time passed, that’s what happened. Now here it is 7 years later and I finally reattached the sleeve and am ready to mail it to her (she asked about it recently). But not just one dress! I’m mailing her TWO DRESSES! Yep! I finally copied the dress to make another one.
Meeting Inspired Project
After the Sew Fitting NG meeting with Twila, which I blogged about last week, I knew immediately my new garment copy project was going to be that blue dress! Luckily my daughter is probably the same size at 26 as she was at 18. She’s a professional kayaker and she runs to blow off steam. I’m guessing her body hasn’t changed much over the years but to be sure I did add in a little extra room when copying the pattern.
Copying
The process of copying the dress was pretty simple. Of the possible methods we outlined at the Sew Fitting meeting (see the blog post) I chose to use carbon copy paper and a tracing wheel.
- I folded the garment in half at center front and pinned the side seams, armscye and shoulder seams together.
- To ensure accuracy and consistency (as much as possible) I made certain to pin at the same point through both sides.
- Rather than folding the entire garment in half I chose to fold the front of the dress in half and leave the back of the dress lying off the page.
- It felt like 2 layers of fabric was easier to feel the seams and trace with the tracing wheel. Four layers of bulk could make it harder to trace the seams accurately.
- I laid out my grid pattern paper and laid a carbon copy sheet face down with the garment on top of the carbon copy paper
- I drew a sharpie line and placed the garment center front on this line and repeated for garment center back.
- I traced around the bodice front, moving the shoulder seams into place as went.
- Since I did not take the garment apart the dress didn’t lay completely flat. I used pattern weights to hold the dress in place while I shifted the armscye and shoulder seams so I could trace.
- My carbon sheet is not huge so I had to move it into around.
- Large pattern weights were helpful to maintain the same position on my pattern paper while I shifted the carbon sheets around.
- Maybe next time I should use several carbon sheets at one time to cover a larger area.
- Repeated for the back.
It seems like a tedious task but once you get a handle on your method of copying, a feel for the seams and a little patience it moves along quickly. I traced the impressions left by the carbon paper with pencil or pen to get a permanent tracing. Add seam allowances and cut out. Inspect the original garment to make sure you understand the neckline and seam finishing required to finish the garment. In this case I surged the seams and did a knit binding on the neckline folded to the inside and topstitched.
This black, lace stretch was in my stash from several years ago. I only paid $4/yard and didn’t have any plans for this fabric. Since this was a practice copy for a daughter who lives in Boston I decided to use the lace as a ‘muslin fabric’. I’ll mail her both dresses and hopefully both dresses fit! If so I can see more dresses of this type in her future! To make the skirt for this dress I drafted a 3/4 circle skirt. It was just too easy that way since I’m always drafting some version of a circle skirt using waist measurements. In this case I measured the circumference of the bodice at the waist and used that number to calculate the skirt. But it would have been easy to copy the skirt onto paper as well.
Well that was a fun and interesting project inspired by the Sew Fitting group meeting I attended. Thanks to Twila and the brainstorming of all the attendees! I’ll be going through all of my knit fabrics to make more dresses for my daughter!
Have you copied a garment in your closet to have a pattern for new makes? I bet someone has copied a complicated garment like a skirt, pants or jacket! Please share with me your garment copy projects! I can feature a few on a new blog post! Leave a comment below or send me an email!
Pattern Weights from HEB
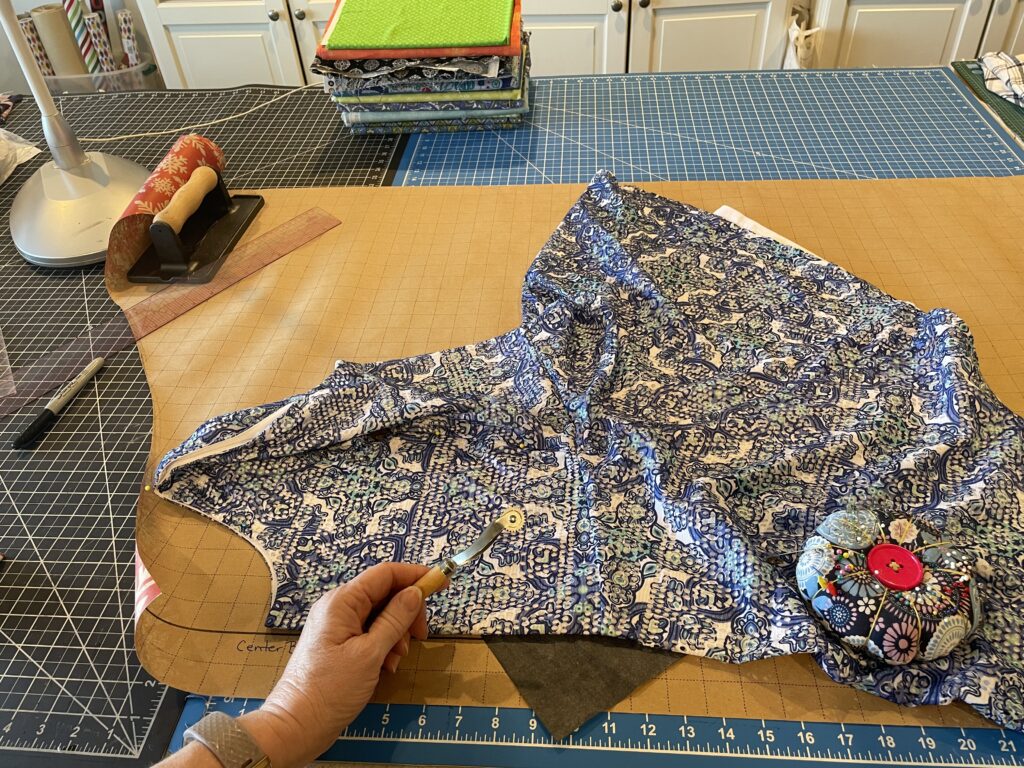
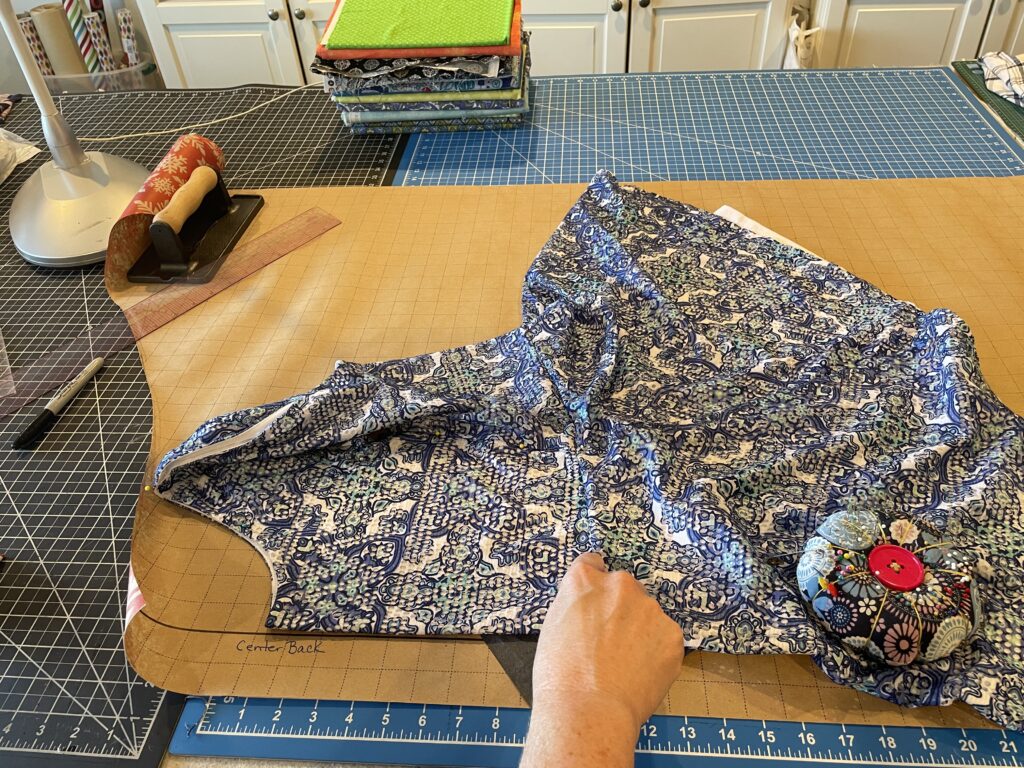
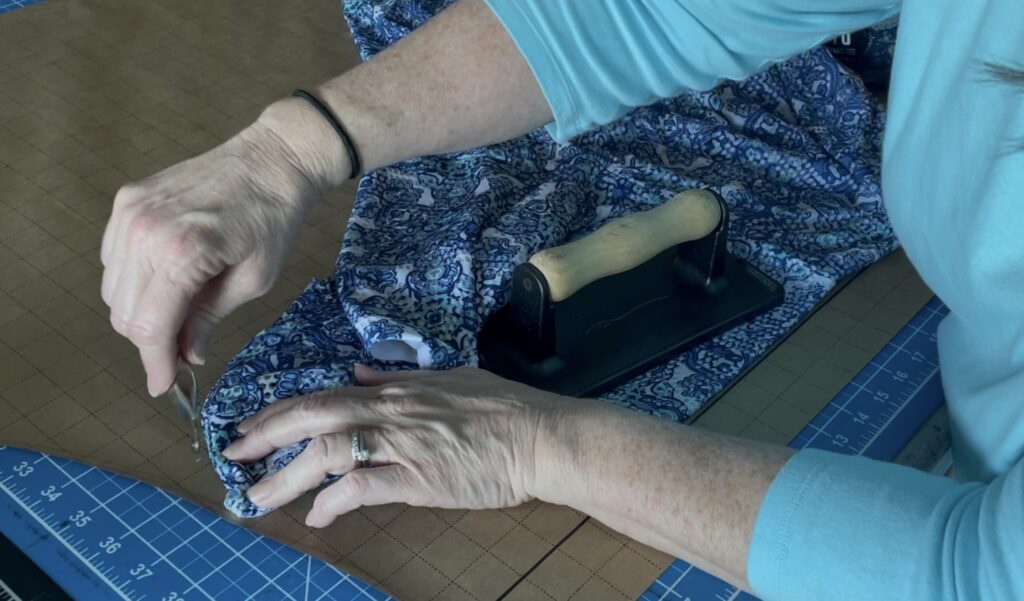
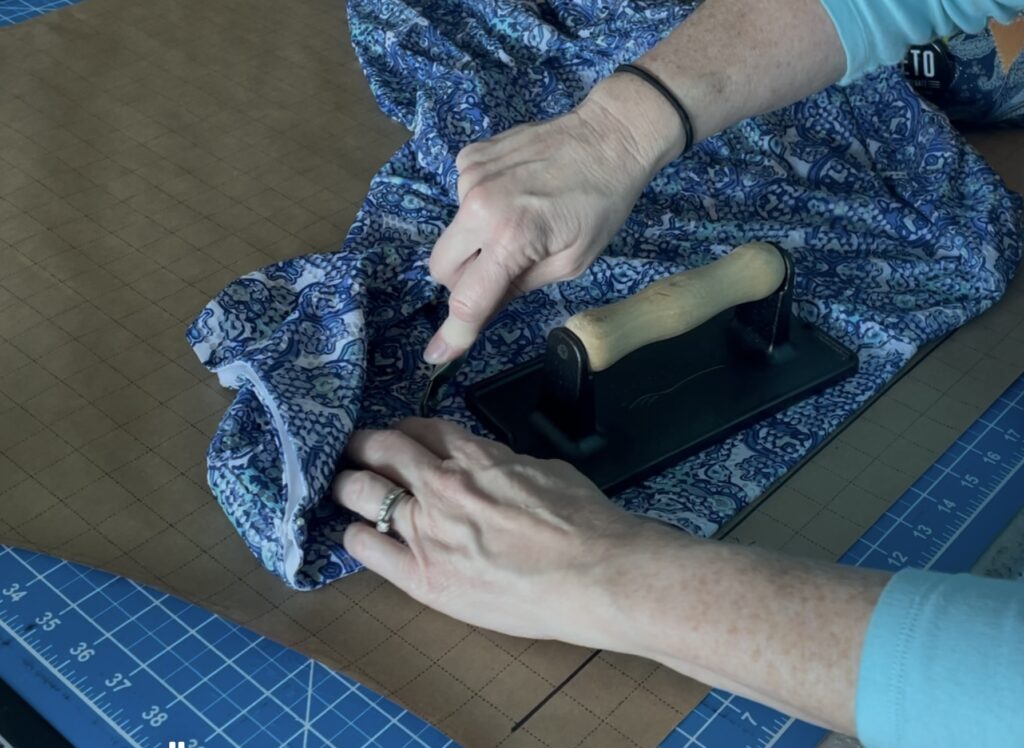
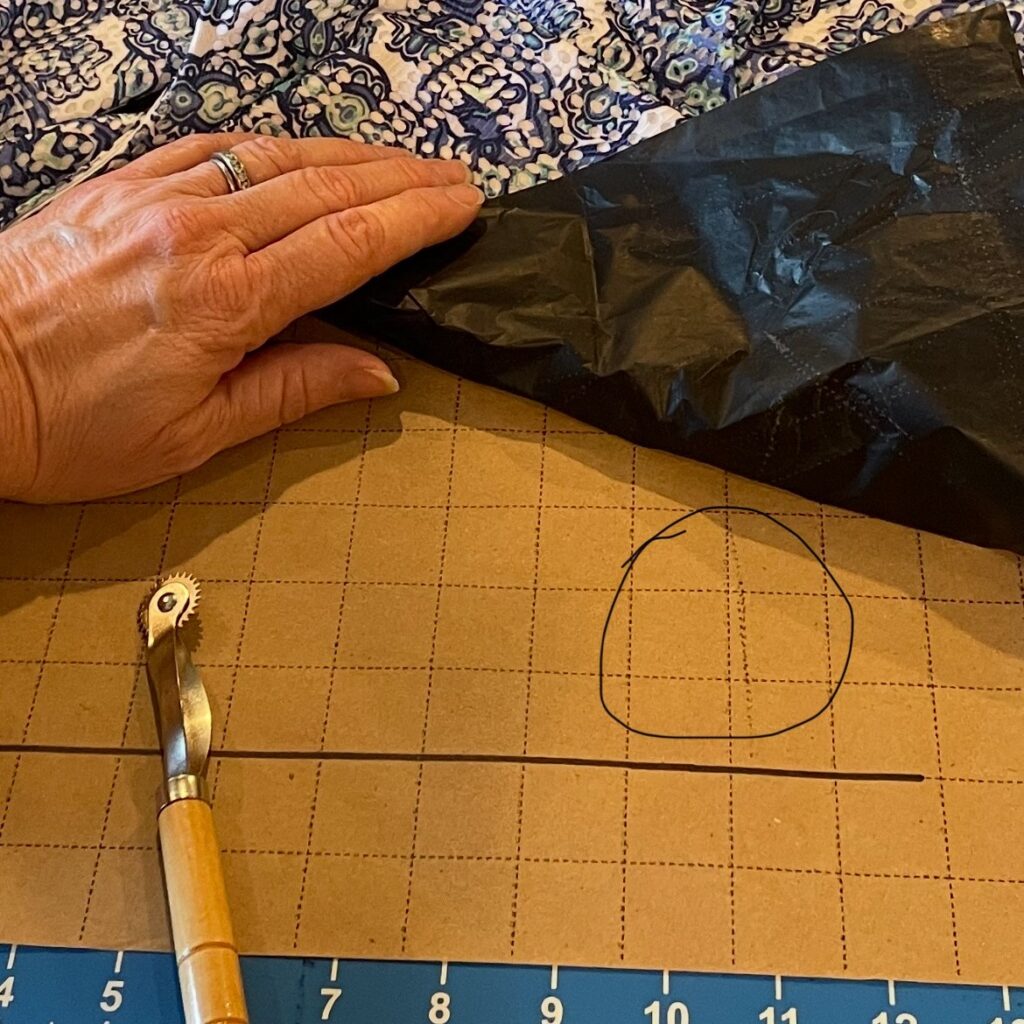
Have you checked out these pattern weights at HEB? When I took fashion design classes at HCC I enjoyed their large, iron, pattern weights. I looked online to buy some and they were about $25-40 each depending on the website. What about shipping costs for something that heavy? I was going to need at least 2-3. One day at HEB I was shopping in the kitchen utensils section and I saw these bacon presses! They make perfect pattern weights. I think they were on sale for $7 each.
I love your pattern weight!!!
I do too! I have two of these I think. Maybe I have a 3rd one! ☺️
Thank you for sharing! This gives me confidence in giving it a try!
Awesome! I am glad to see you blogged and I can’t wait to see your efforts at copying a garment! I love an online sewing community and so glad to see others using our website!